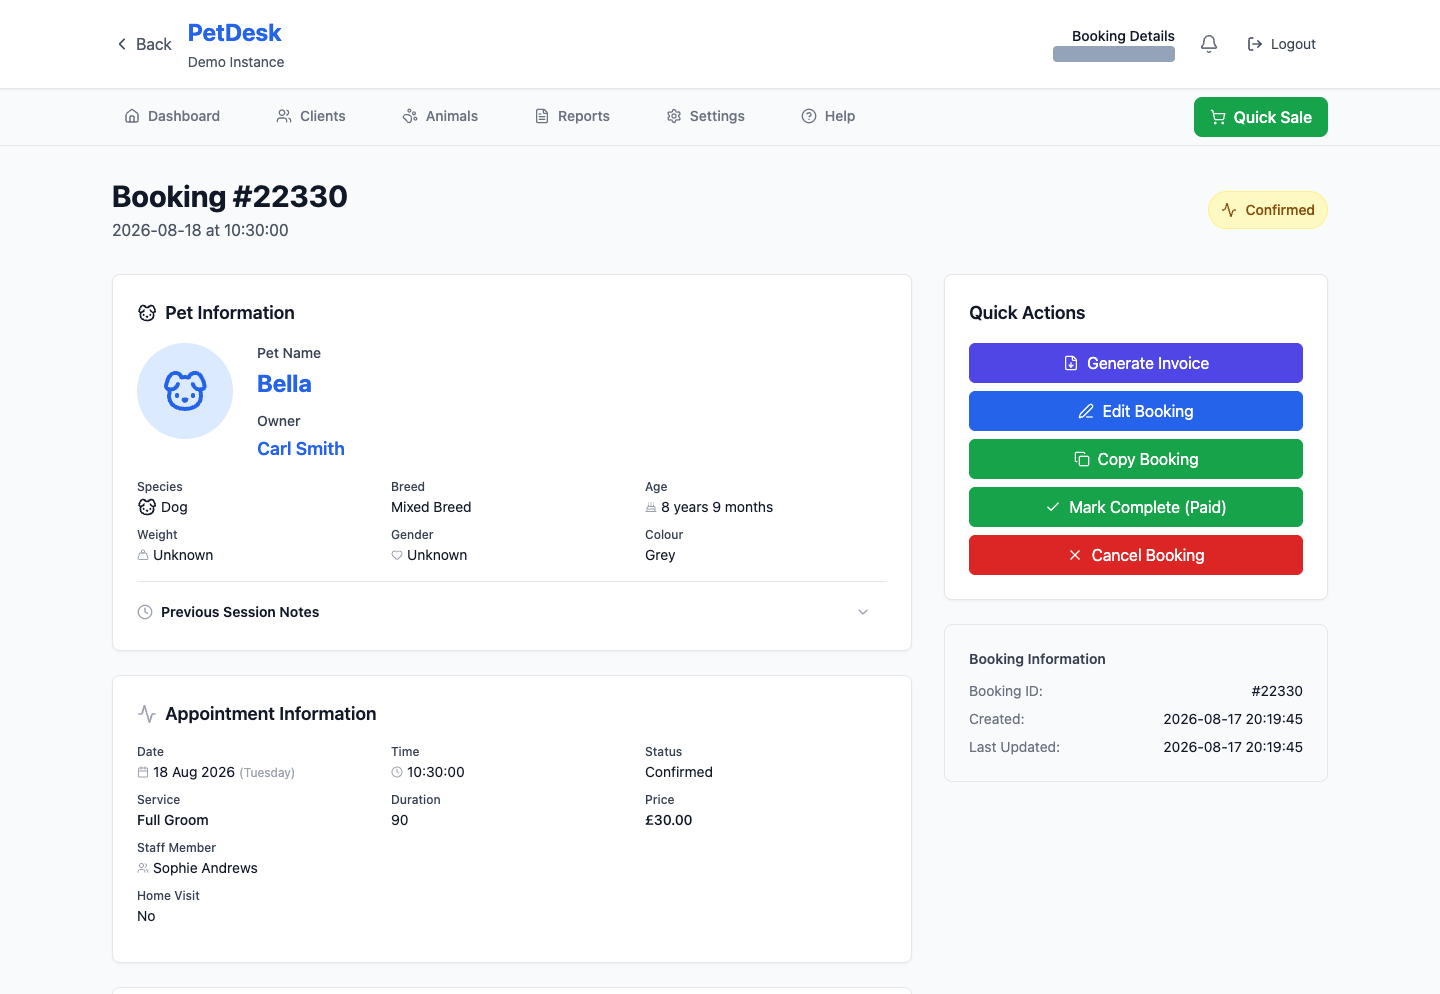
Making a booking
Create an appointment from the diary by choosing the customer, their animal, a service and a time. PetDesk only offers slots when the chosen staff member is actually working, and you can send the customer a confirmation text as you save.
Booking an appointment for a customer, from start to finish. The whole booking lives on one page, so you can fill it in whatever order suits you.
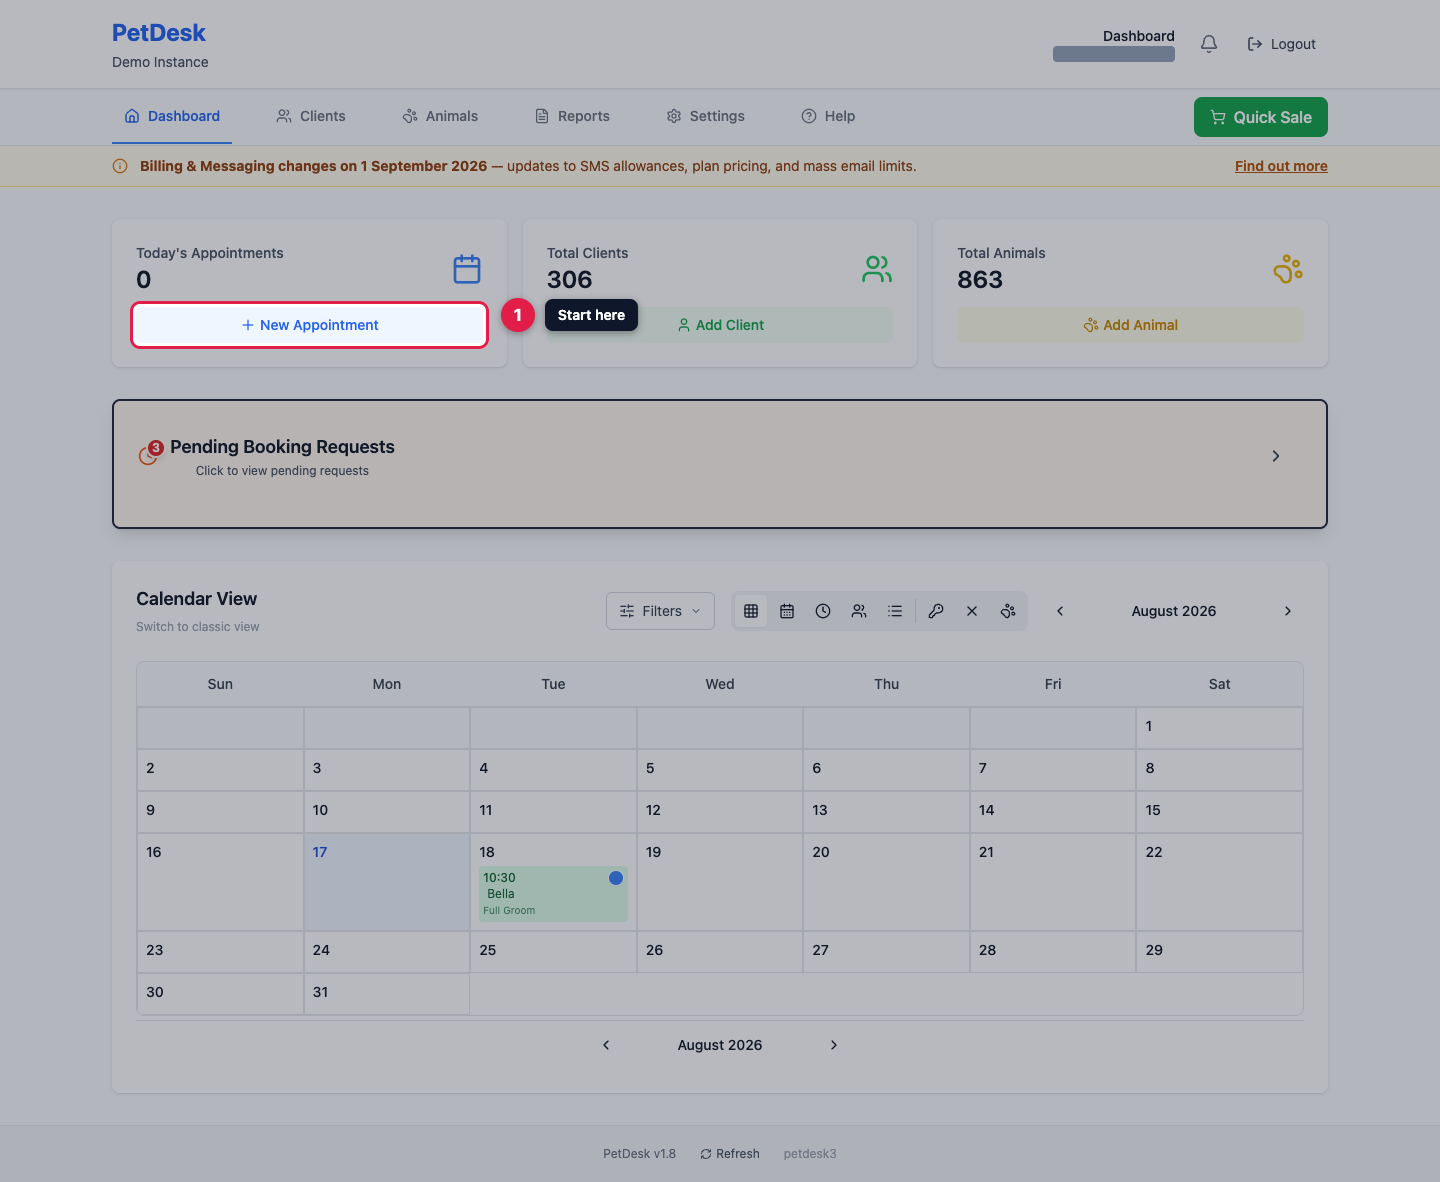
1. Start a new booking
From your Dashboard, click New Appointment. You can also start from the calendar, or from Schedule Appointment in the Quick Actions on any customer's page — they all open the same form.
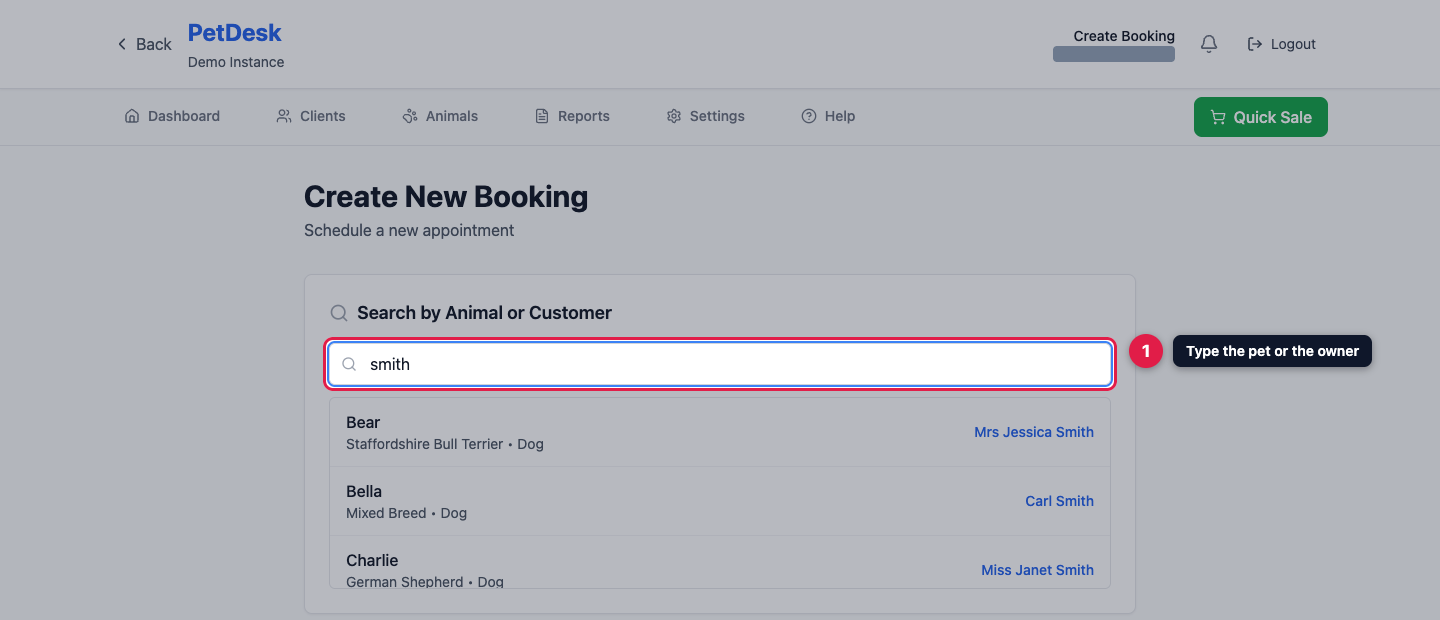
2. Find the pet or the customer
Type either the pet's name or the customer's name. Each result shows the animal, its breed and species, and the owner on the right — so if a customer has several pets you can pick the right one in a single click.
New customer? They need to be added under Clients first — see Adding a Customer and Their Pet below. You can jump straight into a booking from their page once they're set up.
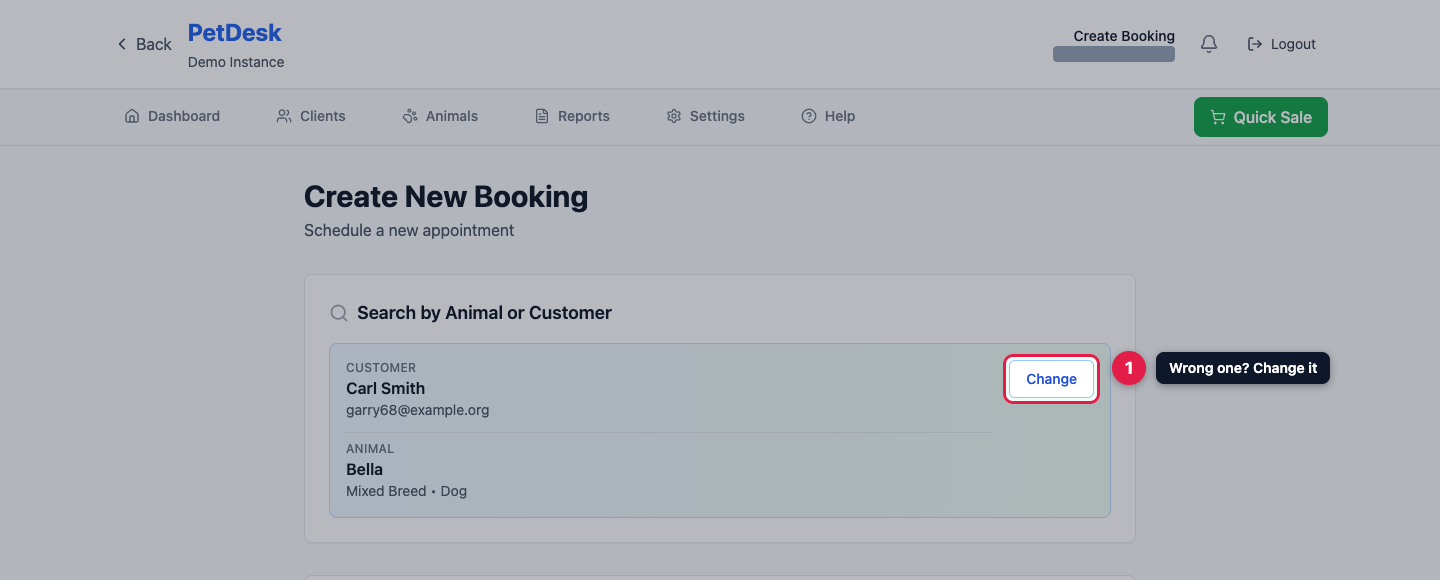
3. Check you've got the right one
The search collapses into a summary of the customer and pet you picked. Chose the wrong one? Click Change to search again.
4. Service, staff and time
Pick the service and PetDesk fills in the duration and price from your Services settings. Both stay editable, and changing them here only affects this booking. Assigning a staff member is optional, and the location defaults to your main premises.
As you change the date, Schedule for this day shows what's already booked — so you can spot a clash before you create one.
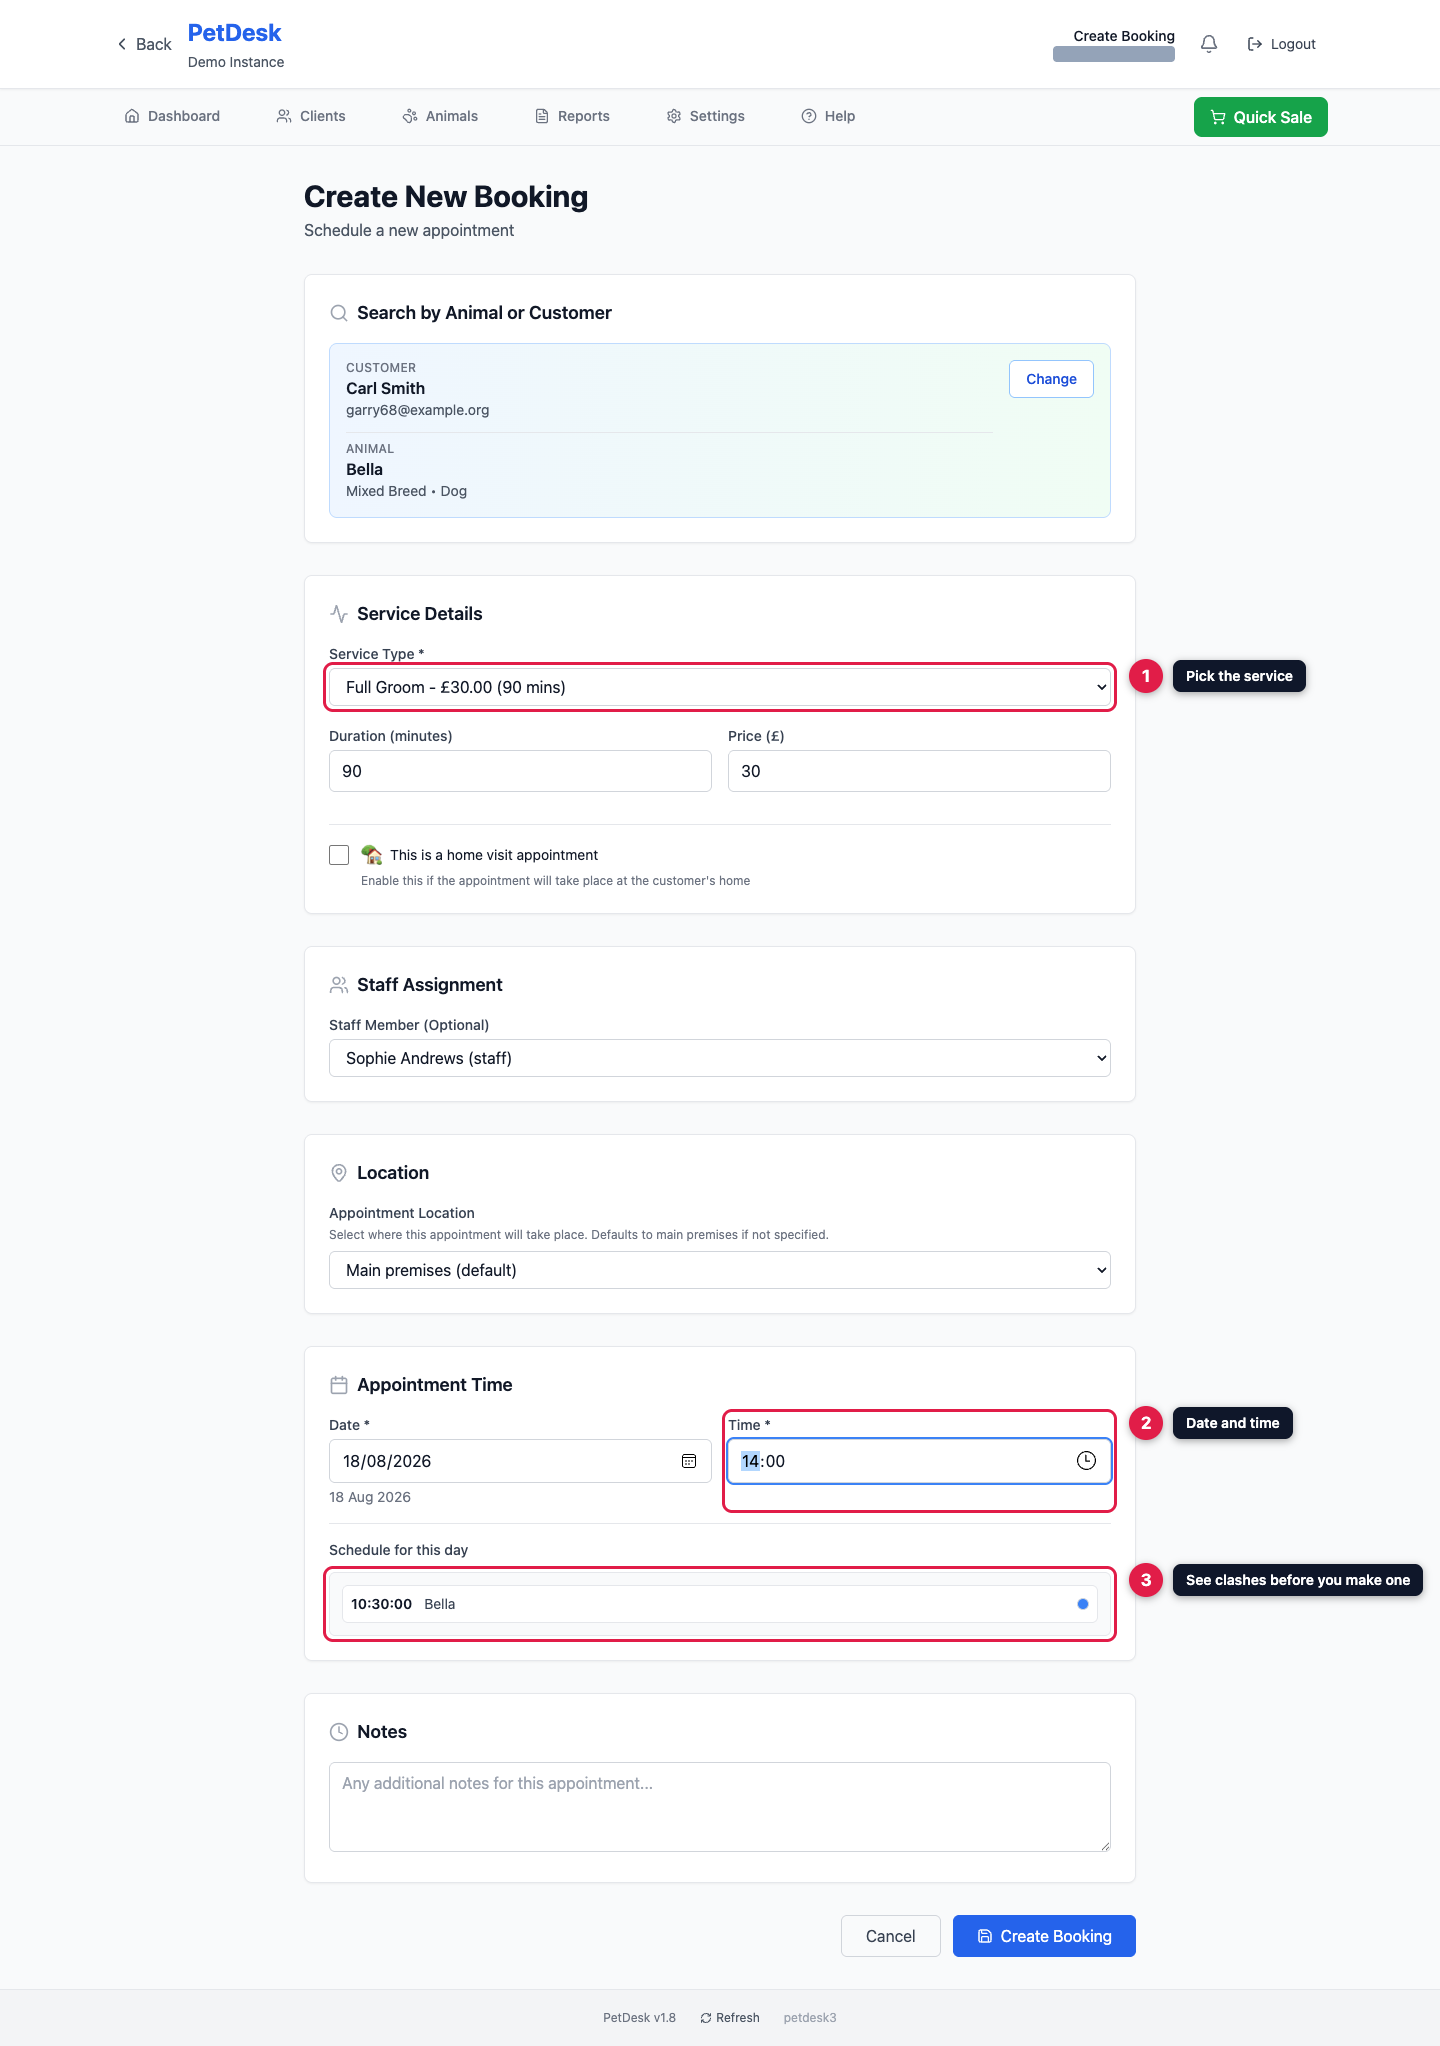
Use Notes at the bottom for anything the person doing the appointment should know — a nervous dog, a coat that mats, where to park for a home visit.
5. Anything to add on?
If any of your services are set up as extras, they appear as tick boxes under the one you've chosen, each showing what it adds to the price and how many minutes it takes. Tick whatever else the animal is having and it goes on as a separate line on the invoice.
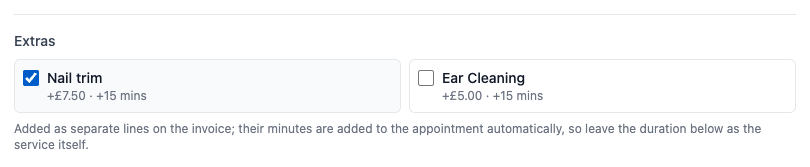
Leave the duration box showing the main service's own length — PetDesk adds the extras' minutes to the appointment for you, so the diary blocks out the right amount of time without you doing the arithmetic.
More than one pet coming in? Tick them under Other animals on this booking and they're booked as a single visit. See Booking several pets into one visit.
6. Confirm, and text the customer
Click Create Booking and PetDesk asks whether to send a confirmation text. If you take deposits, you can attach the payment link to the same message.
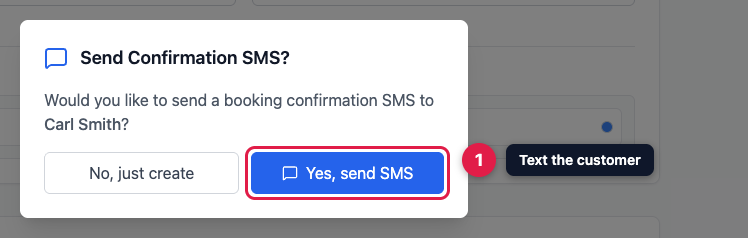
If the customer has no number, has a landline, or has opted out of texts, PetDesk tells you which and creates the booking anyway.
7. That's it
The booking opens straight away and appears on your calendar. From here you can take payment, generate an invoice, mark it complete, or copy it to make a repeat booking.